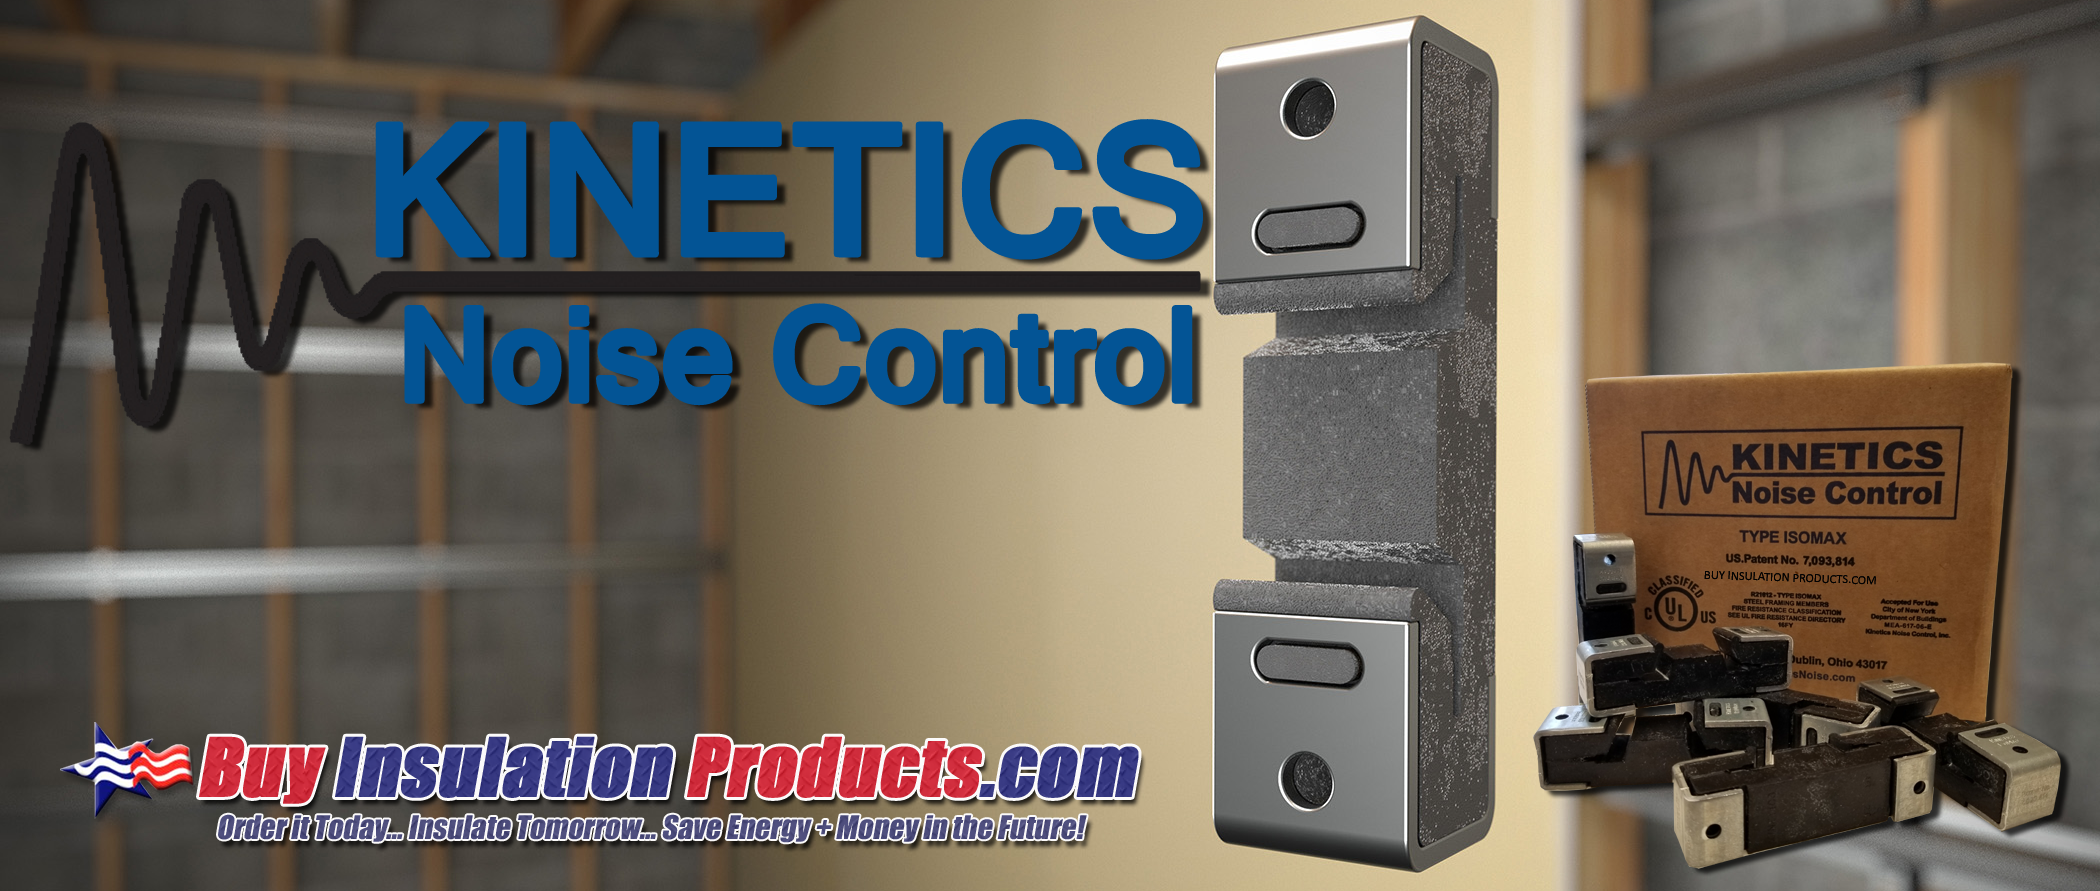
How to Install Kinetics IsoMax Sound Isolation Clips
Posted by BIP - Instructions and Diagrams Provided by Kinetics Noise on 19th Jul 2022
Kinetics IsoMax Sound Isolation Clips are a commonly used sound clip for installing hat channel in soundproofing wall and ceiling structures. This short blog post will provide the basic rules and instructions for properly installing Kinetics IsoMax Clips.
STEP 1: CLIP LAYOUT
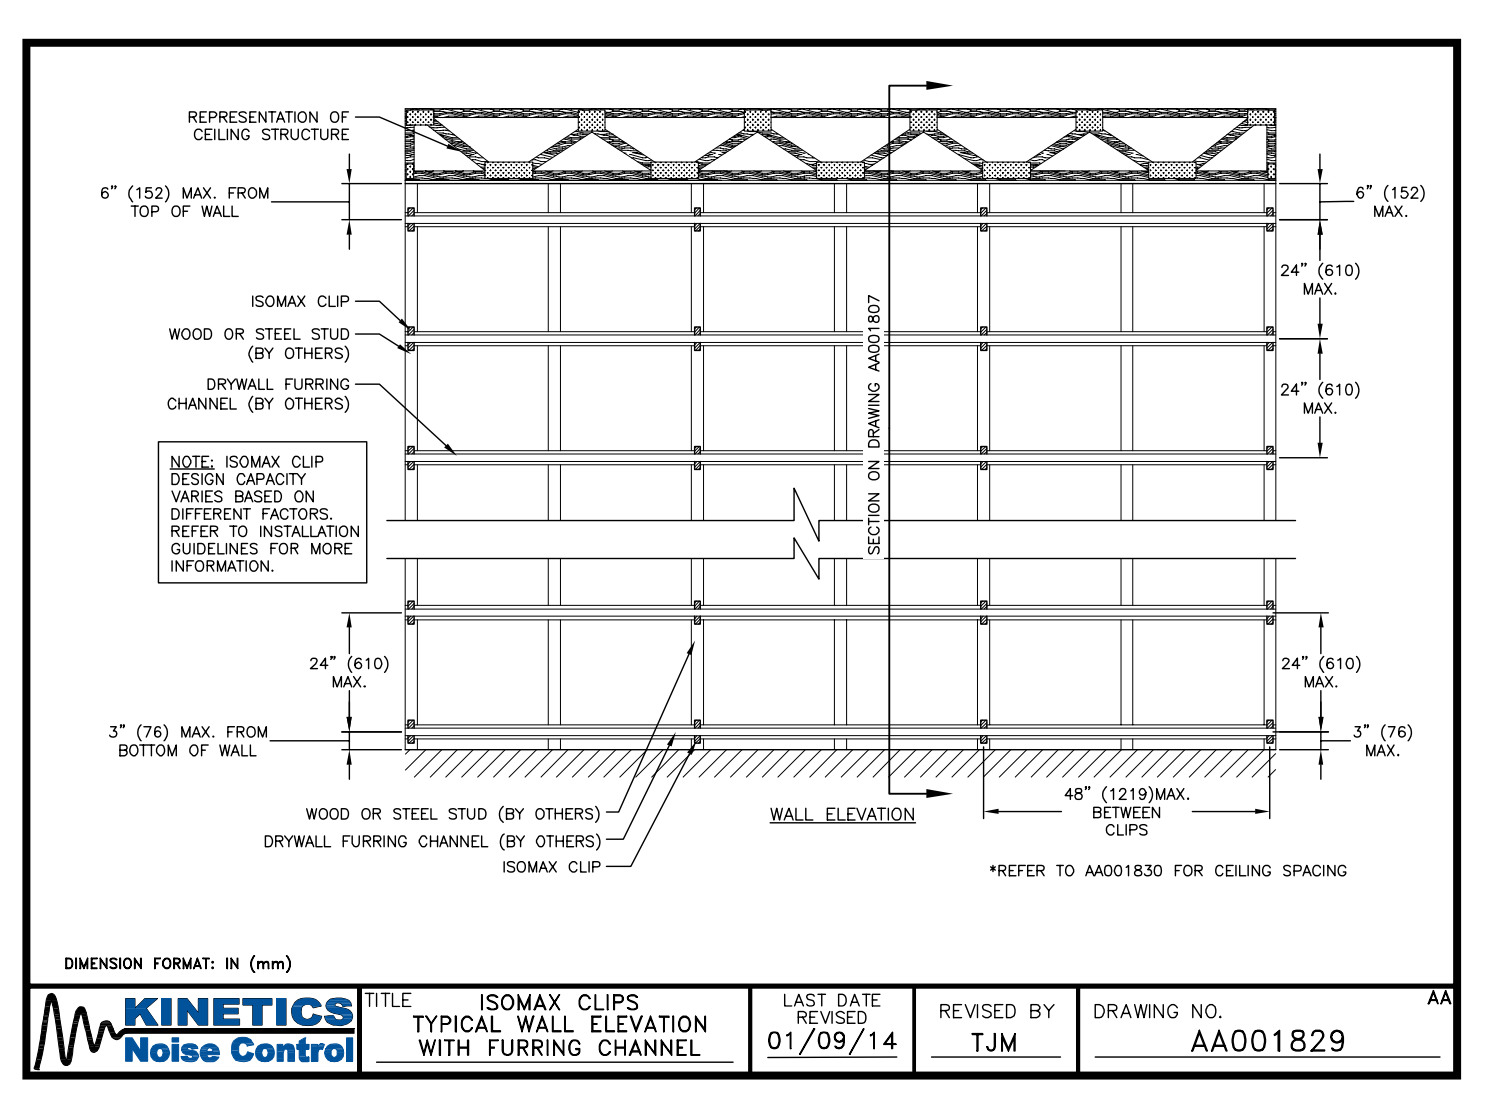
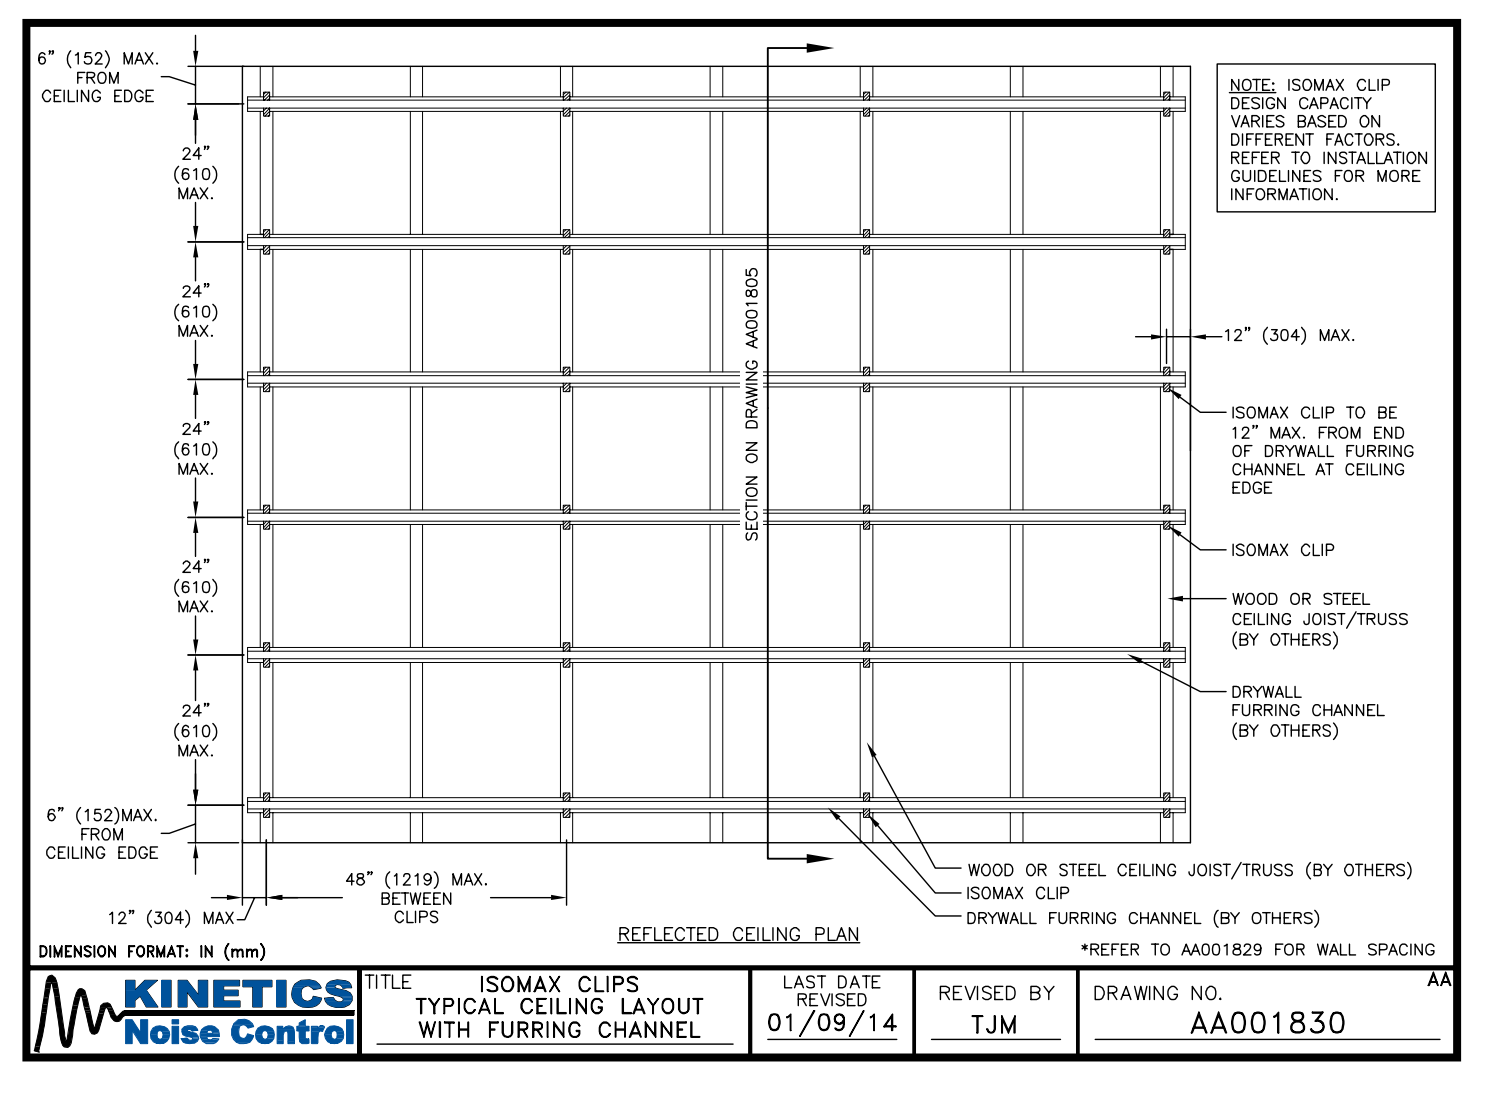
While referring to the two diagrams below, mark the stud or joist locations where Kinetics IsoMax Sound Isolation Clips will be installed. We highly recommend using either a laser level or snap chalk to ensure clips are lined up evenly. Misaligned clips will result in warped/bent hat channel.
WALL LAYOUT
- Maximum 48" spacing between IsoMax Clips on the channel.
- Clip every third stud (16" OC)
- Clip every other stud (24" OC)
- Maximum 24" spacing between each channel
- Maximum 6" space between ceiling and highest channel
- Maximum 3" space between floor and lowest channel
CEILING LAYOUT
- Maximum 48" spacing between IsoMax Clips on the channel.
- Clip every third joist (16" OC)
- Clip every other joist (24" OC)
- Maximum 24" spacing between each channel
- Maximum 6" space between wall and channel
- Maximum 12" space between wall and last clip
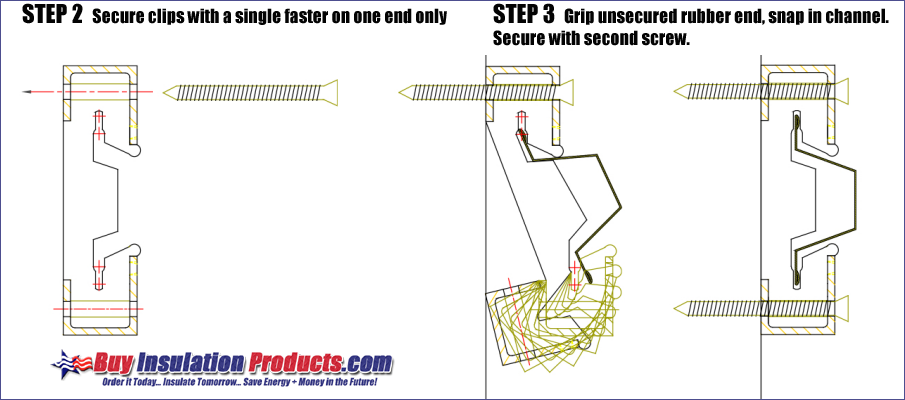
STEP 2: CLIP INSTALL
Secure each sound isolation clip with a single fastener at your designated layout locations. Only secure one end of the clip leaving the other end unsecure.
FASTENER TYPES:
Wood: Use #8 x 2-1/2" coarse thread screws
Steel: Use #8, #10, or #12 x 1-5/8" self-tapping Type S screws
Concrete: Use 3/16" dia x 2-1/4" Tapcon or equal anchor
STEP 3: INSTALL HAT CHANNEL
Grip the unsecured rubber end, snap the hat channel into the clip. Secure with second screw/anchor.
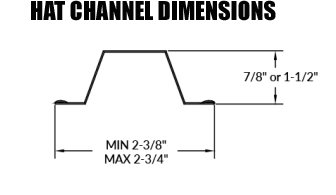
HAT CHANNEL DIMENSIONS:


